Bleeding the brakes is a standard maintenance procedure that guarantees your brakes will perform as they should each time you hit the trails. Brake pads degrade with time, mineral oil breaks down, and air can get into the system.
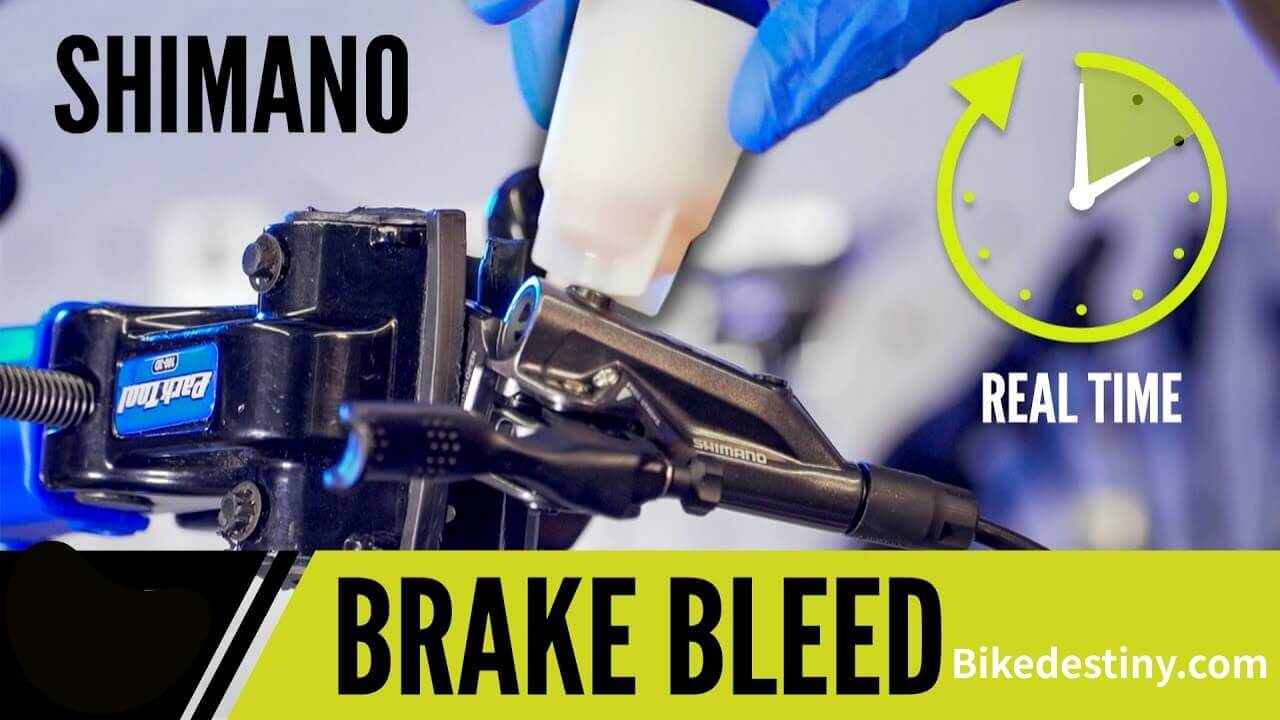
Learn How to Bleed Shimano Xt Brakes in this in-depth guide.
Shimano XT brakes are a popular and highly regarded line of hydraulic disc brakes designed for mountain bikes. Known for their outstanding stopping power, reliability, and precise modulation, Shimano XT brakes have become a favorite choice among off-road cyclists.
They offer excellent performance in a variety of conditions, making them a trusted component for riders who demand responsive and consistent braking on challenging trails. Whether you’re a casual rider or a competitive mountain biker, Shimano XT brakes are recognized for their quality and are often considered a benchmark in the world of mountain biking components.
What is bleeding of Shimano Xt brakes and why it is important
Bleeding Shimano XT brakes is a maintenance procedure specific to Shimano’s hydraulic disc brake systems. It involves removing air from the brake fluid and replacing it with fresh, air-free fluid. Here’s why bleeding Shimano XT brakes is important:
1. Air Removal: Air can enter the brake system over time due to factors such as brake line expansion, fluid aging, or during brake pad replacement. Air bubbles in the brake lines can cause a spongy or inconsistent brake feel, reducing braking efficiency and performance. Bleeding brakes remove these air bubbles, ensuring a solid and reliable brake response.
2. Brake Feel and Modulation: Properly bled brakes provide a consistent and firm brake lever feel. This is essential for precise brake modulation, allowing you to control braking force accurately, which is crucial for technical and demanding off-road riding.
3. Safety: Maintaining optimal braking performance is vital for rider safety. Bleeding the brakes ensures that your brakes operate reliably, reducing the risk of brake failure and accidents.
4. Heat Dissipation: Air in the brake lines can lead to reduced heat dissipation. During extended or intense braking, this can result in brake fade, where the brakes lose effectiveness. Bleeding the brakes helps maintain consistent performance, especially during challenging descents and heavy braking.
5. Longevity: Regular brake bleeding is part of routine maintenance for brakes. It not only enhances performance but also extends the lifespan of the brake system by identifying and addressing potential issues like fluid leaks or worn components.
6. Consistency: Whether you’re a recreational or competitive cyclist, having consistent and reliable brake performance is essential. Bleeding your brakes ensures that they consistently perform at their best over time.
Step By Step Guide on How to Bleed Shimano Xt Brakes
Here, you can get your Shimano St. 4-piston descending hydraulic disc brakes serviced. To put it simply, these brakes are Shimano’s best of the best when it comes to stopping power for mountain bikes. Bleeding the front and back brakes is accomplished in the same way.
When it comes to bleeding your mountain bike’s brakes, everyone has their method. This is the one we recommend for all Shimano brakes. We’ll begin by discussing the equipment needed to execute the task properly. Bleeding the brakes on the path without the correct equipment might be dangerous. If you are lacking the right equipment, transport your bicycle to a bike shop.
What Equipment Do We Require?
In particular, you’ll require Shimano Mineral Oil. Most other brake makers utilize either mineral oil or DOT-approved brake fluid. While “mineral oil” might refer to a variety of different things, all Shimano brakes must be crucial that all Shimano brakes be serviced with Shimano-branded mineral oil.
If you use anything other than brake fluid, you risk ruining the system’s seals and ultimately causing the brakes to stop working.
Second, you could use a Shimano Bleed Cartridge. The bleed container, oil catch container, and syringe are all standard components of Shimano bleed kits. In this case, we won’t be utilizing a syringe to ensure that no contaminated fluid is forced up the brake lever.
To maintain the brake caliper pistons spaced apart during bleeding, you’ll have to get a Shimano bleed block. Finally, a set of Allen keys, a 7mm tool, and a Phillips-headed screwdriver will come in handy.
The Parallel Brake Level Must Be Raised:
Step one is to place your bike on a stand and lift the brake levers until they become parallel to the ground using a 4mm Allen key. The mineral oil on the braking system and the floor will be protected from this. Put the clamp back on the brake control bar and make sure it is snug.
Taking Off Brake Pads:
Depending on whether you’re planning to be bleeding your front or axle shafts first, you’ll need to remove the appropriate wheel. Take the wheel off and leave it aside for the time being. Next, take off the cotter nut and unscrew the bolt holding the disc brakes to the caliper with a 3mm Allen key.
Brake pads should be stored out of the way for the time being to prevent them from coming into contact with mineral oil. The effectiveness of the brakes can decrease if the disc brakes get dirty.
Place Bleed Block:
You may remove the pistons from the calipers with a tire lever. Doing so with a metal screwdriver might break the ceramic pistons, so avoid doing so if at all possible. To install brake pads, insert the yellow Shimano bleed block through into the brake caliper and tighten the nut. Use a 3mm Allen key to secure.
Put the Bleed Cup on the Brake Lever.
Take off the screw covering the brake lever reservoir with a 2.5mm Allen key. Keep the rubber O-ring from the cap screw’s base.
Insert the bleed cup into the brake lever and fill it using Shimano Hydraulic Mineral Oil. When inserting the bleed container into the lever, take care to not cross-thread the two.
The plastic threads are readily broken and require extra care while handling. A perfect seal can be attained by installing a rubber O-ring just at the bleed cup’s base. If this isn’t in place, air can enter the brake line and cause problems.
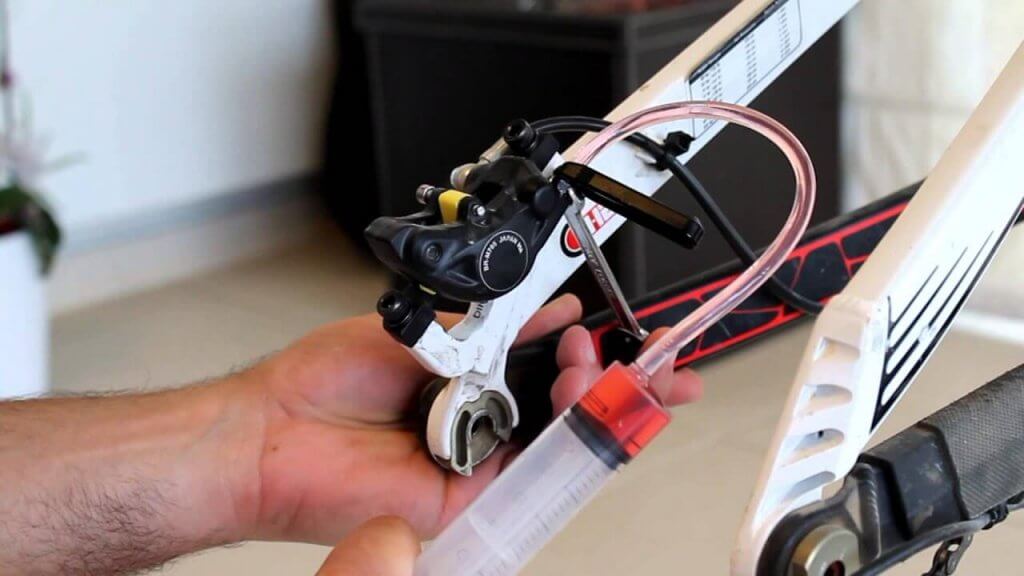
Brake caliper oil catch bottle must be attached:
Pull the top bolt on the brake caliper down and squeeze the rubber oil pipeline onto the fitting for the bleed port. The line must be fully pressed onto the connection to ensure that no gas can enter and no oil could escape.
The line is shown here lying in the oil catch container, which is a perfectly common occurrence. This is only a conduit for oil to leak into a collection container.
Brake System That Allows Air to Pass Through the Caliper and Lever.
To release the mineral oil into the brake mechanism reservoir, you must first remove the stopper from the bleed cup’s center.
To bleed the brakes, turn the caliper’s bleed port open an eighth of a round using the 7mm wrench. Now that the braking system’s two ends are exposed, mineral oil will leak into a collection container.
Load the catch bottle with used mineral oil and wait for clean, new oil to start dripping from the caliper. As you can see in the images below, the system has been emptied of the noxious black oil and is now producing clean oil.
Keep adding more mineral oil to the bleed cup as needed. The most important thing is to make sure that air doesn’t get into the braking system through any of the holes. When the drip-by-drip flow slows or stops altogether, you can force more fluid down the pipe by pulling the brake lever.
When the brake lever is pressed to its full extent and held there, oil is forced through the braking system’s oil line and away from the caliper. You don’t want to let off the lever since doing so would cause a vacuum to form in the caliper. THIS IS A CRITICAL STEP.
While holding the brake lever down, use a 7mm wrench to snug the bleed port on the caliper, then start releasing the lever blade and let the bleed port loosen. If more fluid has to be pushed through the caliper, simply repeat this process.
Cap the Bleed Port on the Brake Caliper:
The bleed port on the brake caliper may be sealed using the 7mm open-ended wrench. Take into consideration that only some oil may run into the brake caliper when you remove the oil collection bottle and line.
When you’re done using the oil, make sure to properly dispose of it.
Install new brake pads and clean the brake caliper:
Brake pads should not come into contact with mineral oil. If at all feasible, you should keep your hands off of the brake pad surface.
Before fitting the brake pads, clean the caliper with a degreaser or cleaner of your choice. Here, we recommend using Finish Line Citrus Bicycle Degreaser. Remember that the right and left Shimano Ice-Tech pads require separate installation. To fasten the pads in place, a 3mm Allen key will be required. Put the little cotter pin in your mind!
Reinstall the wheel and secure the axle as necessary:
Any remaining work on the brake caliper may now be considered complete. Finally, we’ll do a lever bleed to get rid of any remaining air in the brake system before calling it a day.
The bleed cup should be about halfway full before you begin pumping the brake pedal repeatedly and checking for air bubbles.
To get rid of the remaining air bubbles, release the brake lever clamp with a 4mm Allen key and tilt the breakup and down out of parallel. Take care not to let any air into the bleed cup or mineral oil leak out.
Bleeding Shimano XT brakes is a necessary maintenance task, but it comes with both advantages and disadvantages.
Here are the pros and cons of bleeding Shimano XT brakes:
Pros
- Improved Brake Performance
- Enhanced Safety
- Prevents Brake Fade
- Longer Component Life
- Customizable Lever Feel
Cons
- Time-Consuming
- Skill and Tools Required
- Potential for Mess
- Cost of Materials
Frequently Asked Questions on How to Bleed Shimano Xt Brakes
Can I use a different brake fluid other than Shimano Mineral Oil for bleeding XT brakes?
- It’s strongly advised to use Shimano Mineral Oil, as it’s specifically formulated for Shimano brake systems. Using different brake fluids can lead to performance issues and damage to your brake components.
What should I do if I accidentally spill brake fluid on my bike components or paint?
- Brake fluid can damage paint and some bike components. If a spill occurs, immediately clean the affected area with water and a mild detergent to minimize potential damage. Prevention, such as using protective covers during bleeding, is the best approach.
Can I reuse the brake fluid I’ve removed during the bleeding process?
- It’s not recommended to reuse brake fluid that has been removed during the bleeding process. Brake fluid can absorb moisture over time, leading to reduced performance. Always use fresh, clean Shimano Mineral Oil for bleeding.
What are the signs that my Shimano XT brakes need bleeding?
- Signs that your brakes may need bleeding include a spongy or inconsistent brake lever feel, a decrease in braking performance, or if you’ve recently replaced brake components. Regularly checking and testing your brakes is essential to identify when bleeding is necessary.
Can I partially bleed my Shimano XT brakes, or do I need to do a complete bleed each time?
- You can perform a partial bleed if you suspect that air is trapped in a specific part of the system, like the caliper or lever. However, a complete bleed is recommended as part of regular maintenance.
How can I prevent air from entering my brake system after bleeding?
- To prevent air from entering the system, ensure that all connections are tight, use new olive and barb inserts when reinstalling hoses, and follow Shimano’s recommended bleeding procedure diligently.
Are there any special considerations for bleeding XT brakes in extreme temperatures (hot or cold)?
- Extreme temperatures can affect the viscosity of brake fluid, making it more challenging to bleed the brakes. You may need to adjust your bleeding technique accordingly. Additionally, avoid spilling brake fluid on hot components, as it can damage them.
What’s the best way to dispose of used brake fluid and related materials?
- Brake fluid is considered hazardous waste and should be disposed of properly. Many auto parts stores and recycling centers accept used brake fluid. Ensure that you follow your local regulations for hazardous waste disposal.
We hope we were able to explain How to Bleed Shimano Xt Brakes with proper method that will make your life perfect. Please subscribe to our blog at bikedestiny.com and explore the world of biking.